Make it with Melissa: Macramé Wristlet Keychain
This post may contain affiliate links, which means I may receive a commission, at no extra cost to you, if you make a purchase through a link. Please see my full disclosure for further information.
Are you looking for an easy project to get your feet wet with Macramé? This wristlet keychain is a great beginners project. It’s quick, it’s easy and it’s also a great gift for someone you love! Here is the step-by-step tutorial to get you started:
Supplies needed:
Step-by-Step Keychain Tutorial:
1. First, measure 9 feet (3 yards/~3 meters) of cording and cut. Find the middle of your cording and push it up through the loop on the lobster claw clasp.
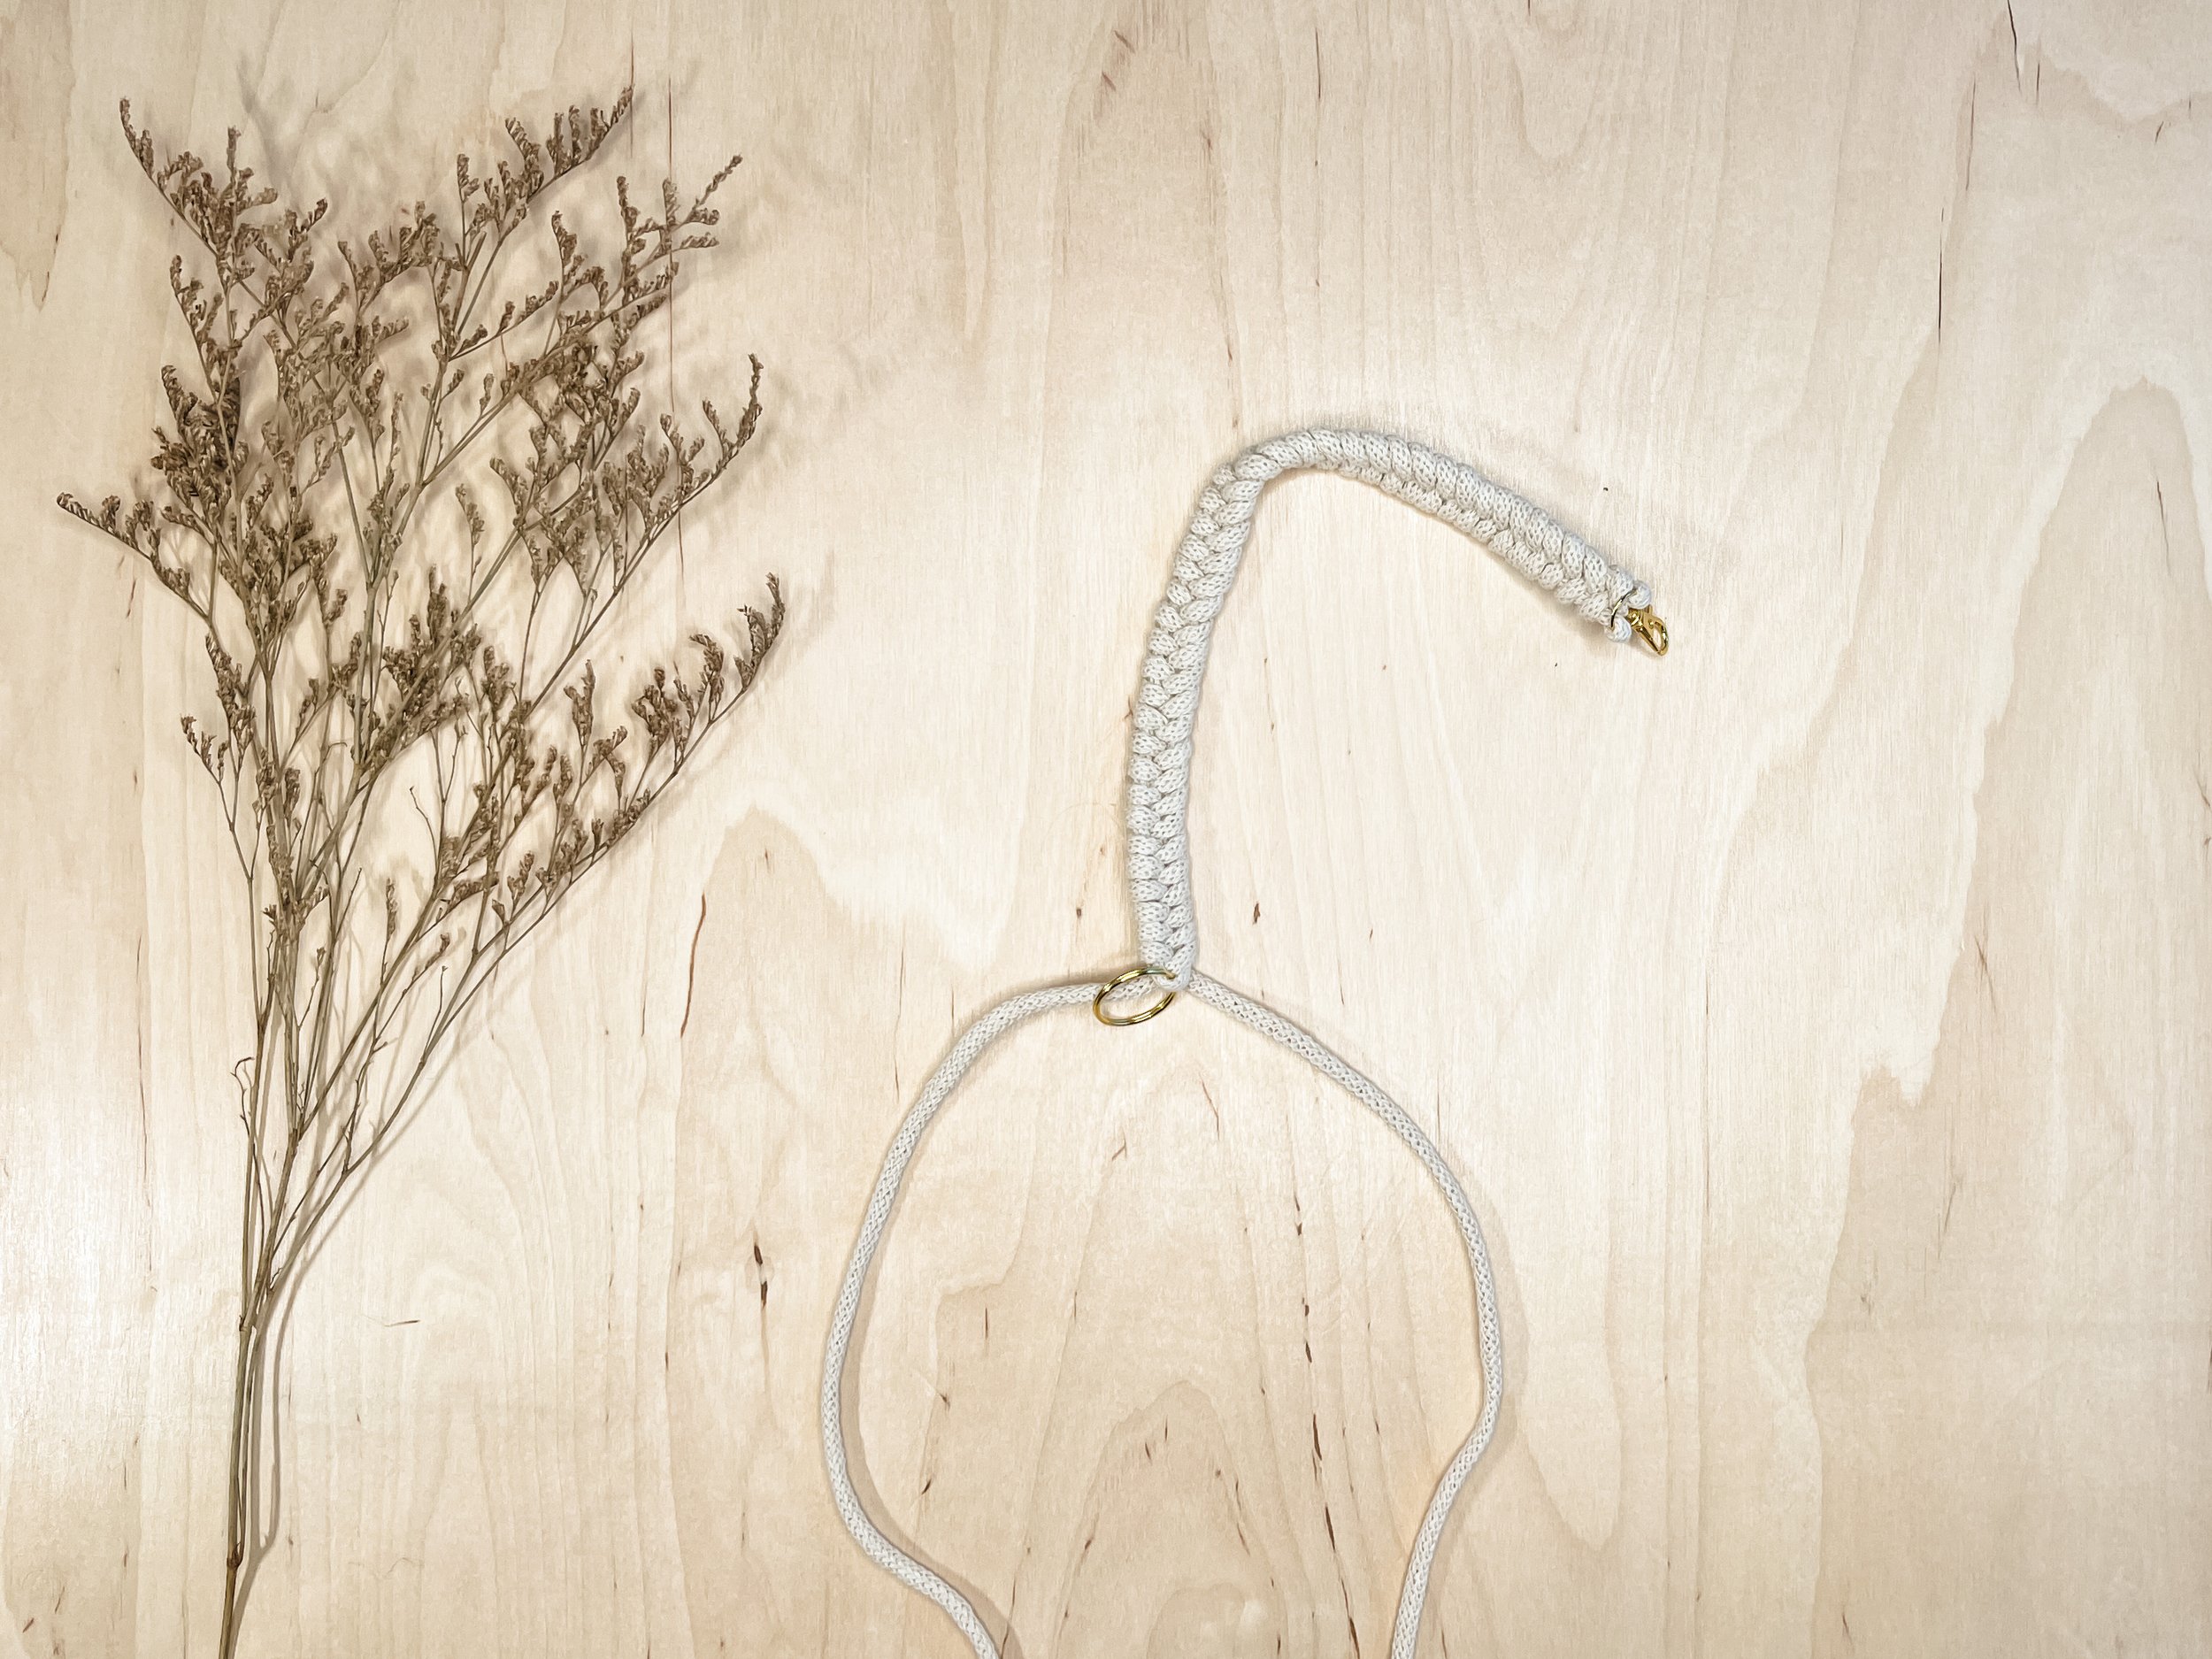
2. Tape clasp to the table. Thread key ring onto the middle point of the cording. Pull down 12’’ and tape key ring to table. The middle two strands of cording are your guide strands. Do not let the guide strands twist. You want them to remain straight and taut.
3. You are ready to start your macramé! Take the left outside string and make a 4. The tail of the 4, will go over the left guide string and under the right guide string. Pull it through until it makes a knot at the top.
4. Take the right outside string and make a backwards 4. The tail of the 4, will go over the right guide string and under the left guide string. Pull it through until it makes a knot at the top.
5. Repeat steps 3 & 4 until you reach the bottom. As you move down, make sure you are tightening each knot with the same amount of pressure to ensure consistency throughout the length of the keychain.
Once you get to the bottom, try to get as close to the key ring as possible. I usually remove the tape from the key ring to do a few more knots. Make sure you do an even amount of knots, so that you end up with string on each side of the key ring.
6. Take the two outside strings and push them down through the key ring to create a loop on each side.
7. Now, take the tails and push them up through the loop you just created.
8. Pull tight, towards the top of the keychain.
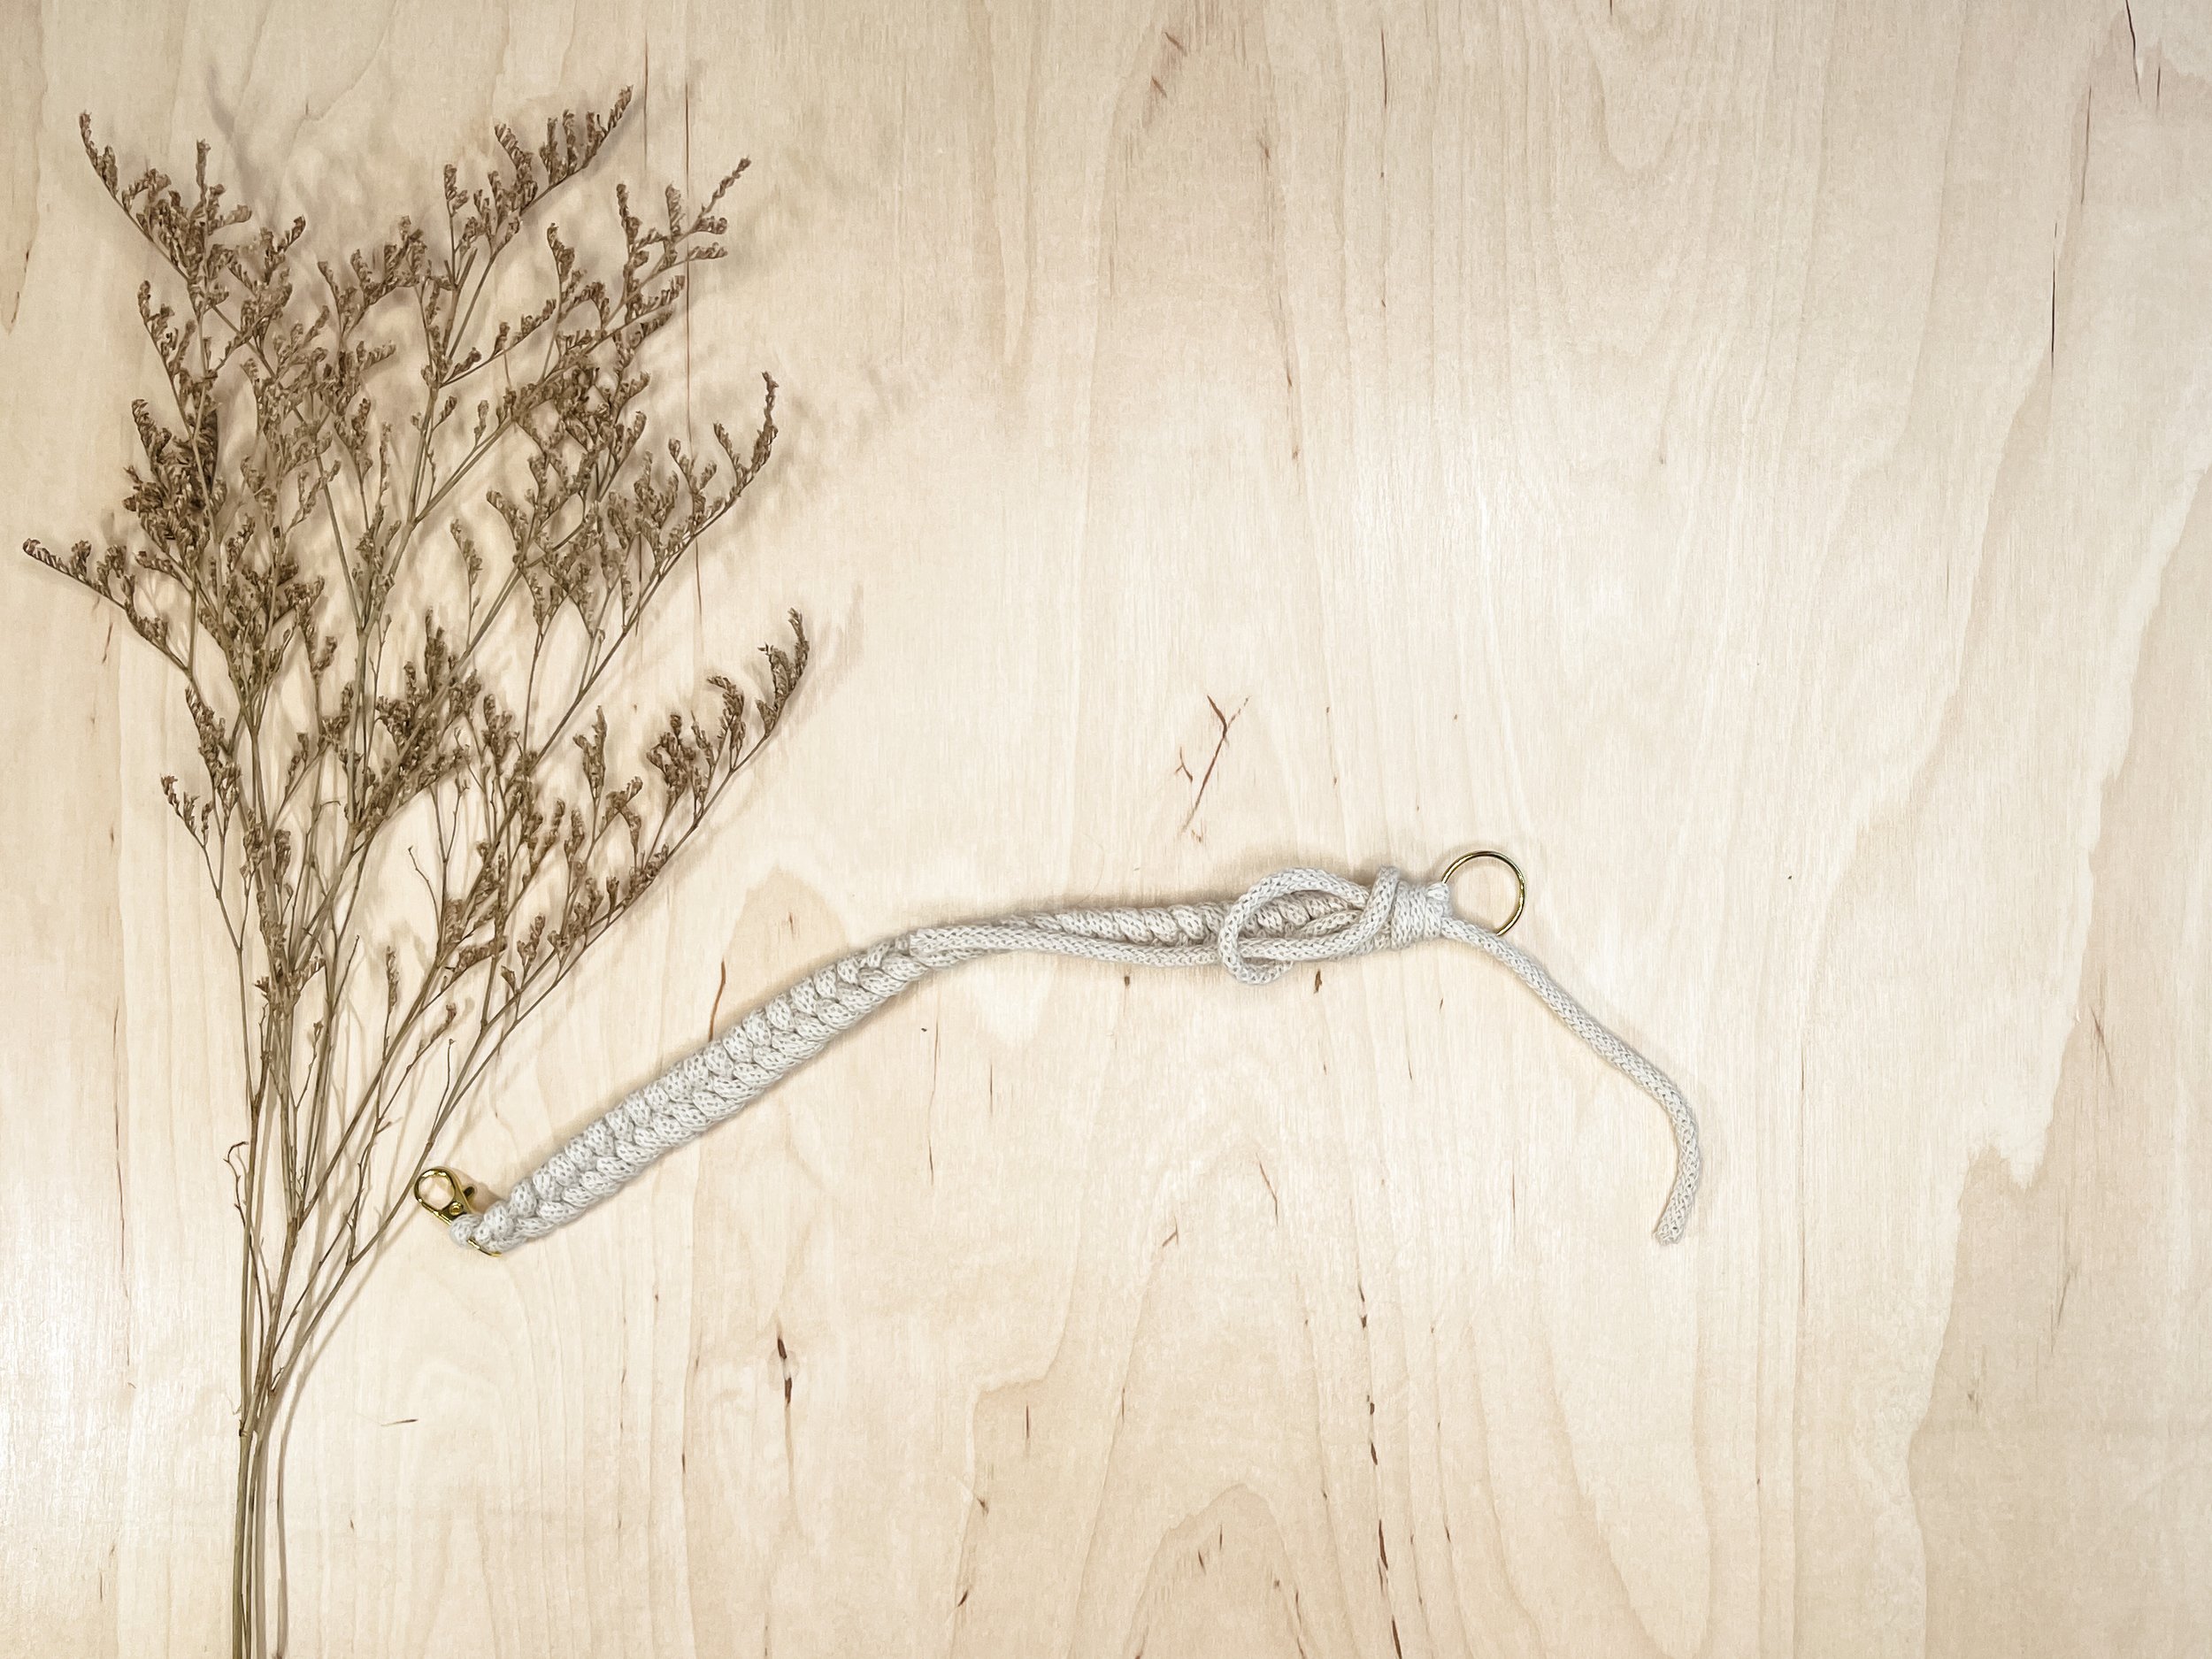
9. To finish off the keychain, you will make a loop with the left outside string, as shown below:
10. Now take your right outside string and wrap it around three times, tightly. Then, put the tail of the right outside string through the loop of the left outside string.
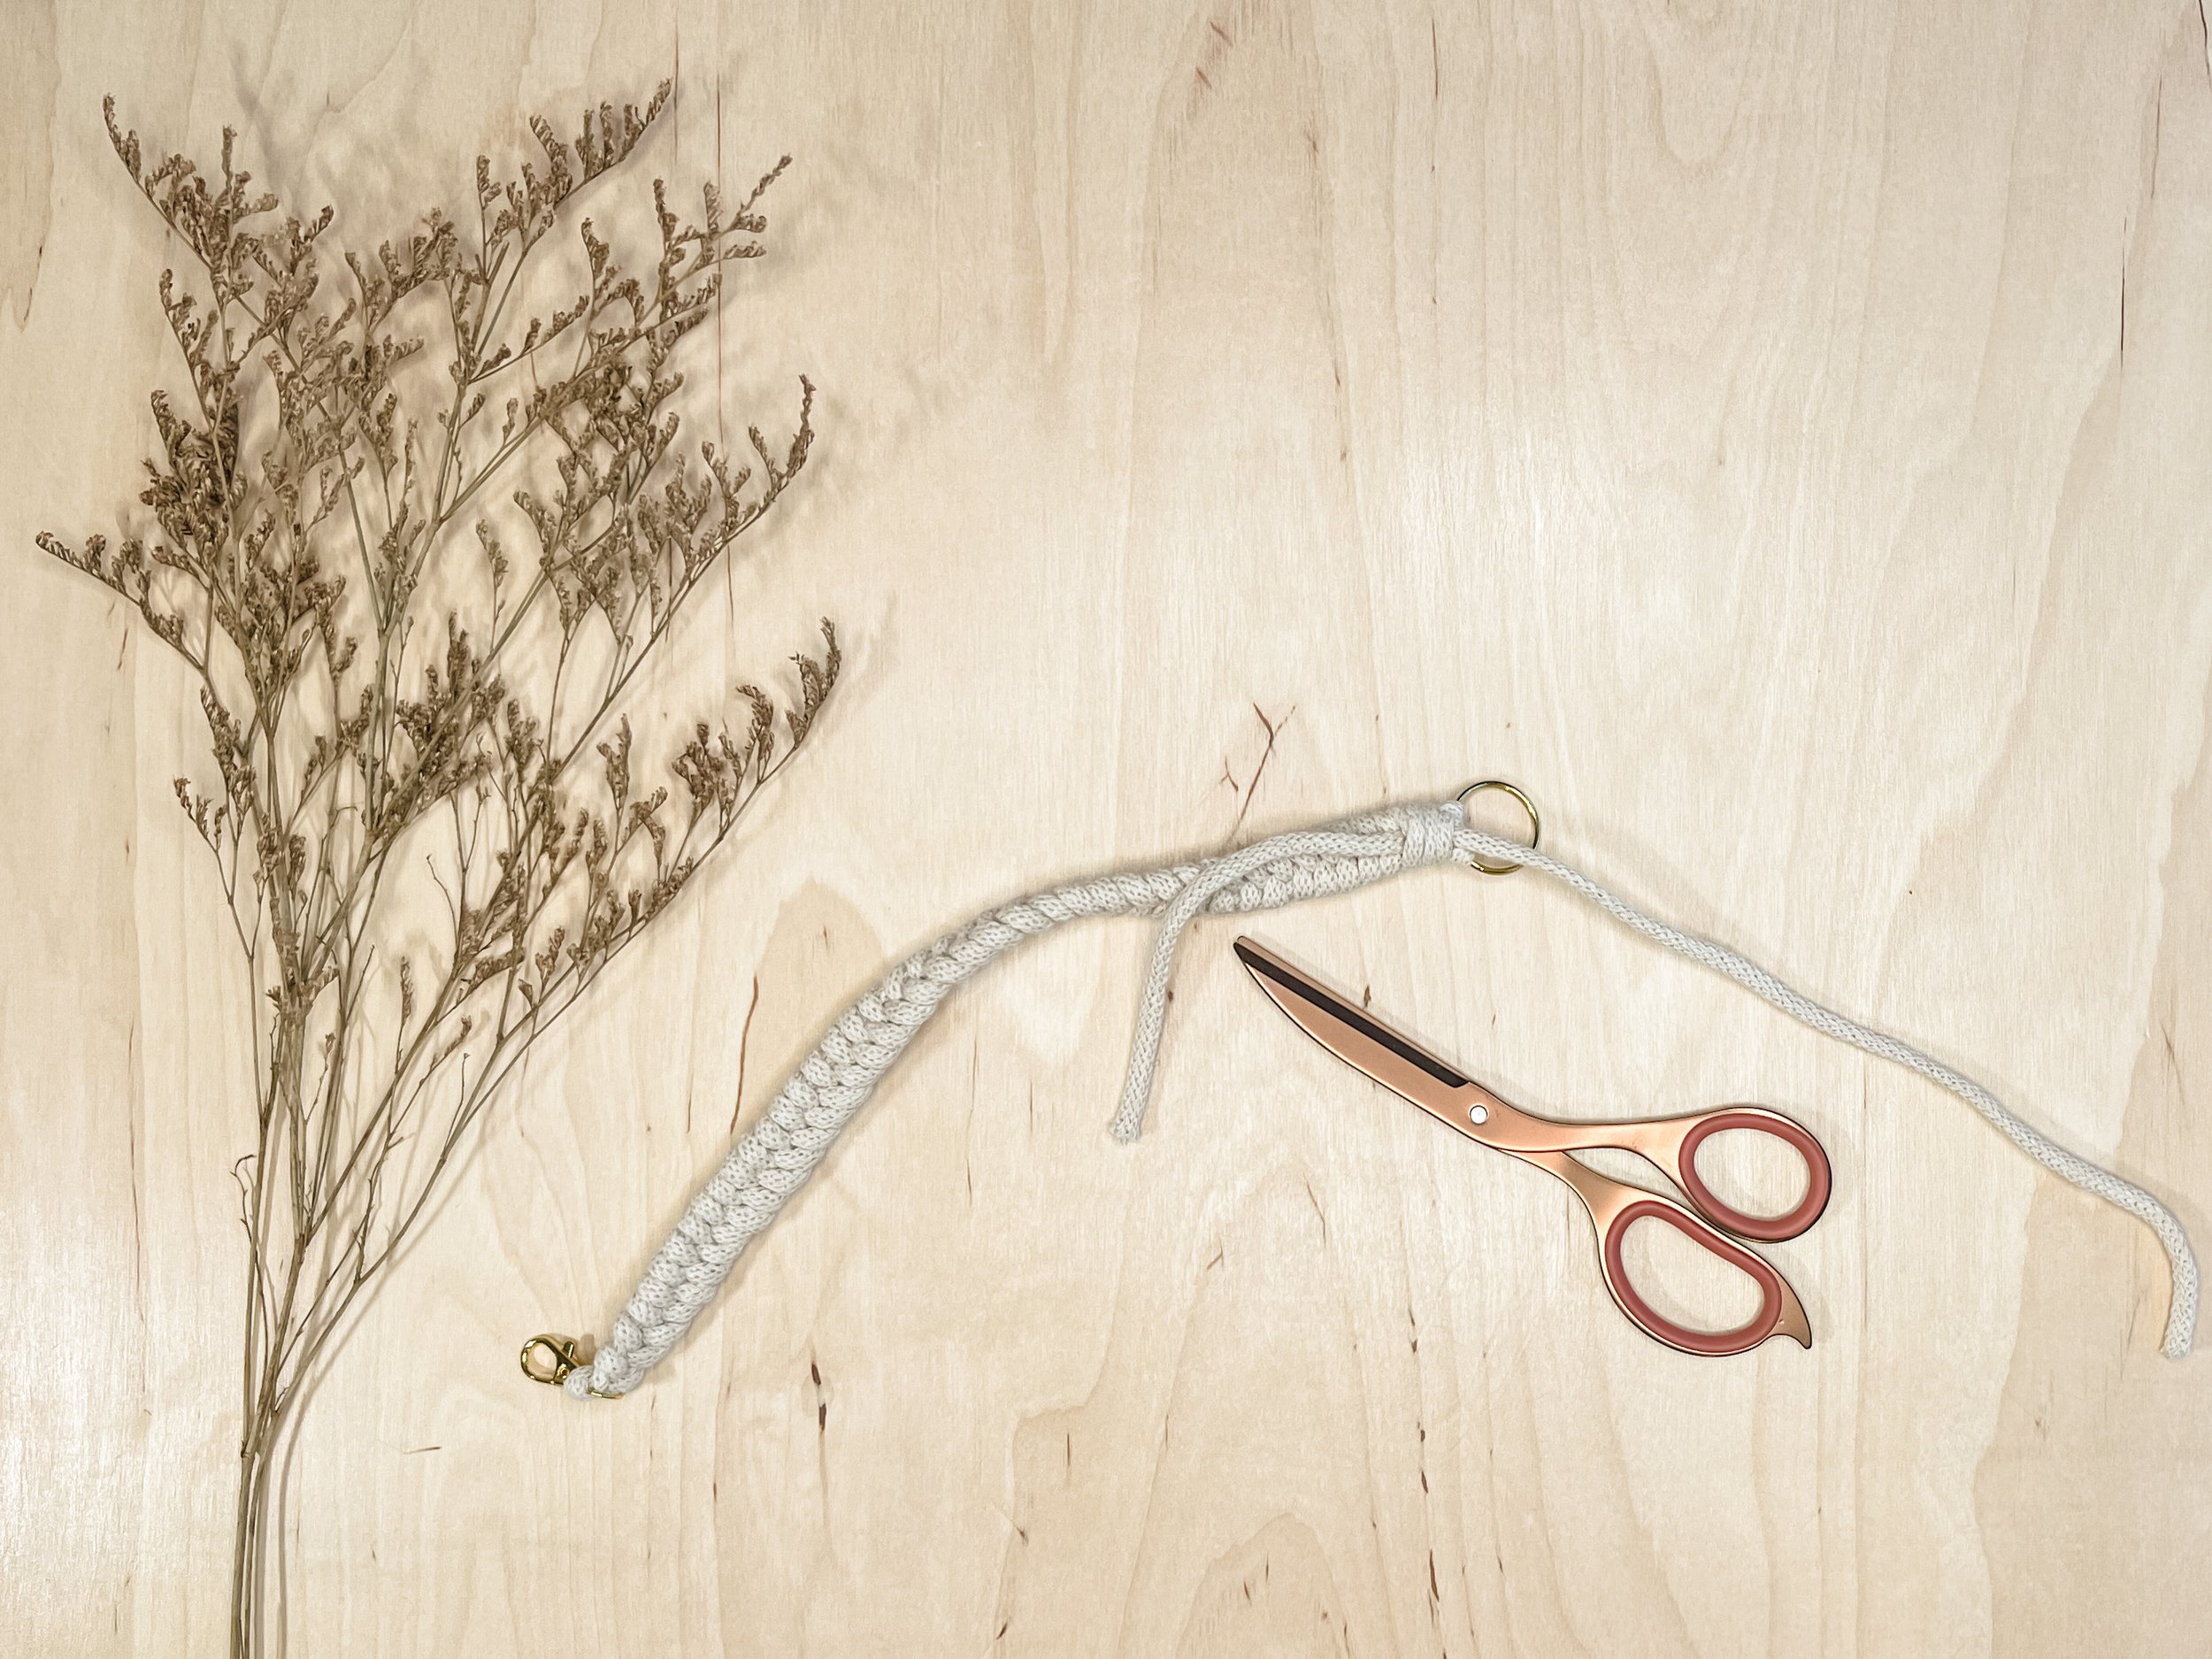
11. Pull the tail of both outside strings. By doing this, you will secure a knot underneath the wrapped string.
12. With the final knot hidden under the wrapped string, you can now cut both tails as close as you can to the wrapped string. You’re finished!
Go grab those keys and fasten them to your new handmade keychain. These are also a great stocking stuffer, graduation gift, Mother’s Day gift, and the gift list goes on :) Enjoy!
Did you try this at home? Was this tutorial helpful? What are some other projects you would like to make with me?
Come again, stay longer!


Finding the perfect Christmas gift for a teen boy can be a challenge. Thankfully, Amazon offers a wide range of popular items that cater to his hobbies, interests, and style. Here’s a curated list of the top 20 Christmas gifts for teen boys in 2024 – you’re sure to find something he’ll love!