Make it with Melissa: Busy Bags (Part 2)
This post may contain affiliate links, which means I may receive a commission, at no extra cost to you, if you make a purchase through a link. Please see my full disclosure for further information.
Welcome to Part 2 of my busy bags! If you have toddlers running around and you’d like to keep them busy, I’ve gathered 5 more of my kids’ favorite busy bags here for you. Included is a supply list for each bag and basic instructions on how you can make your own. They are super easy and fun to make. Take a look:
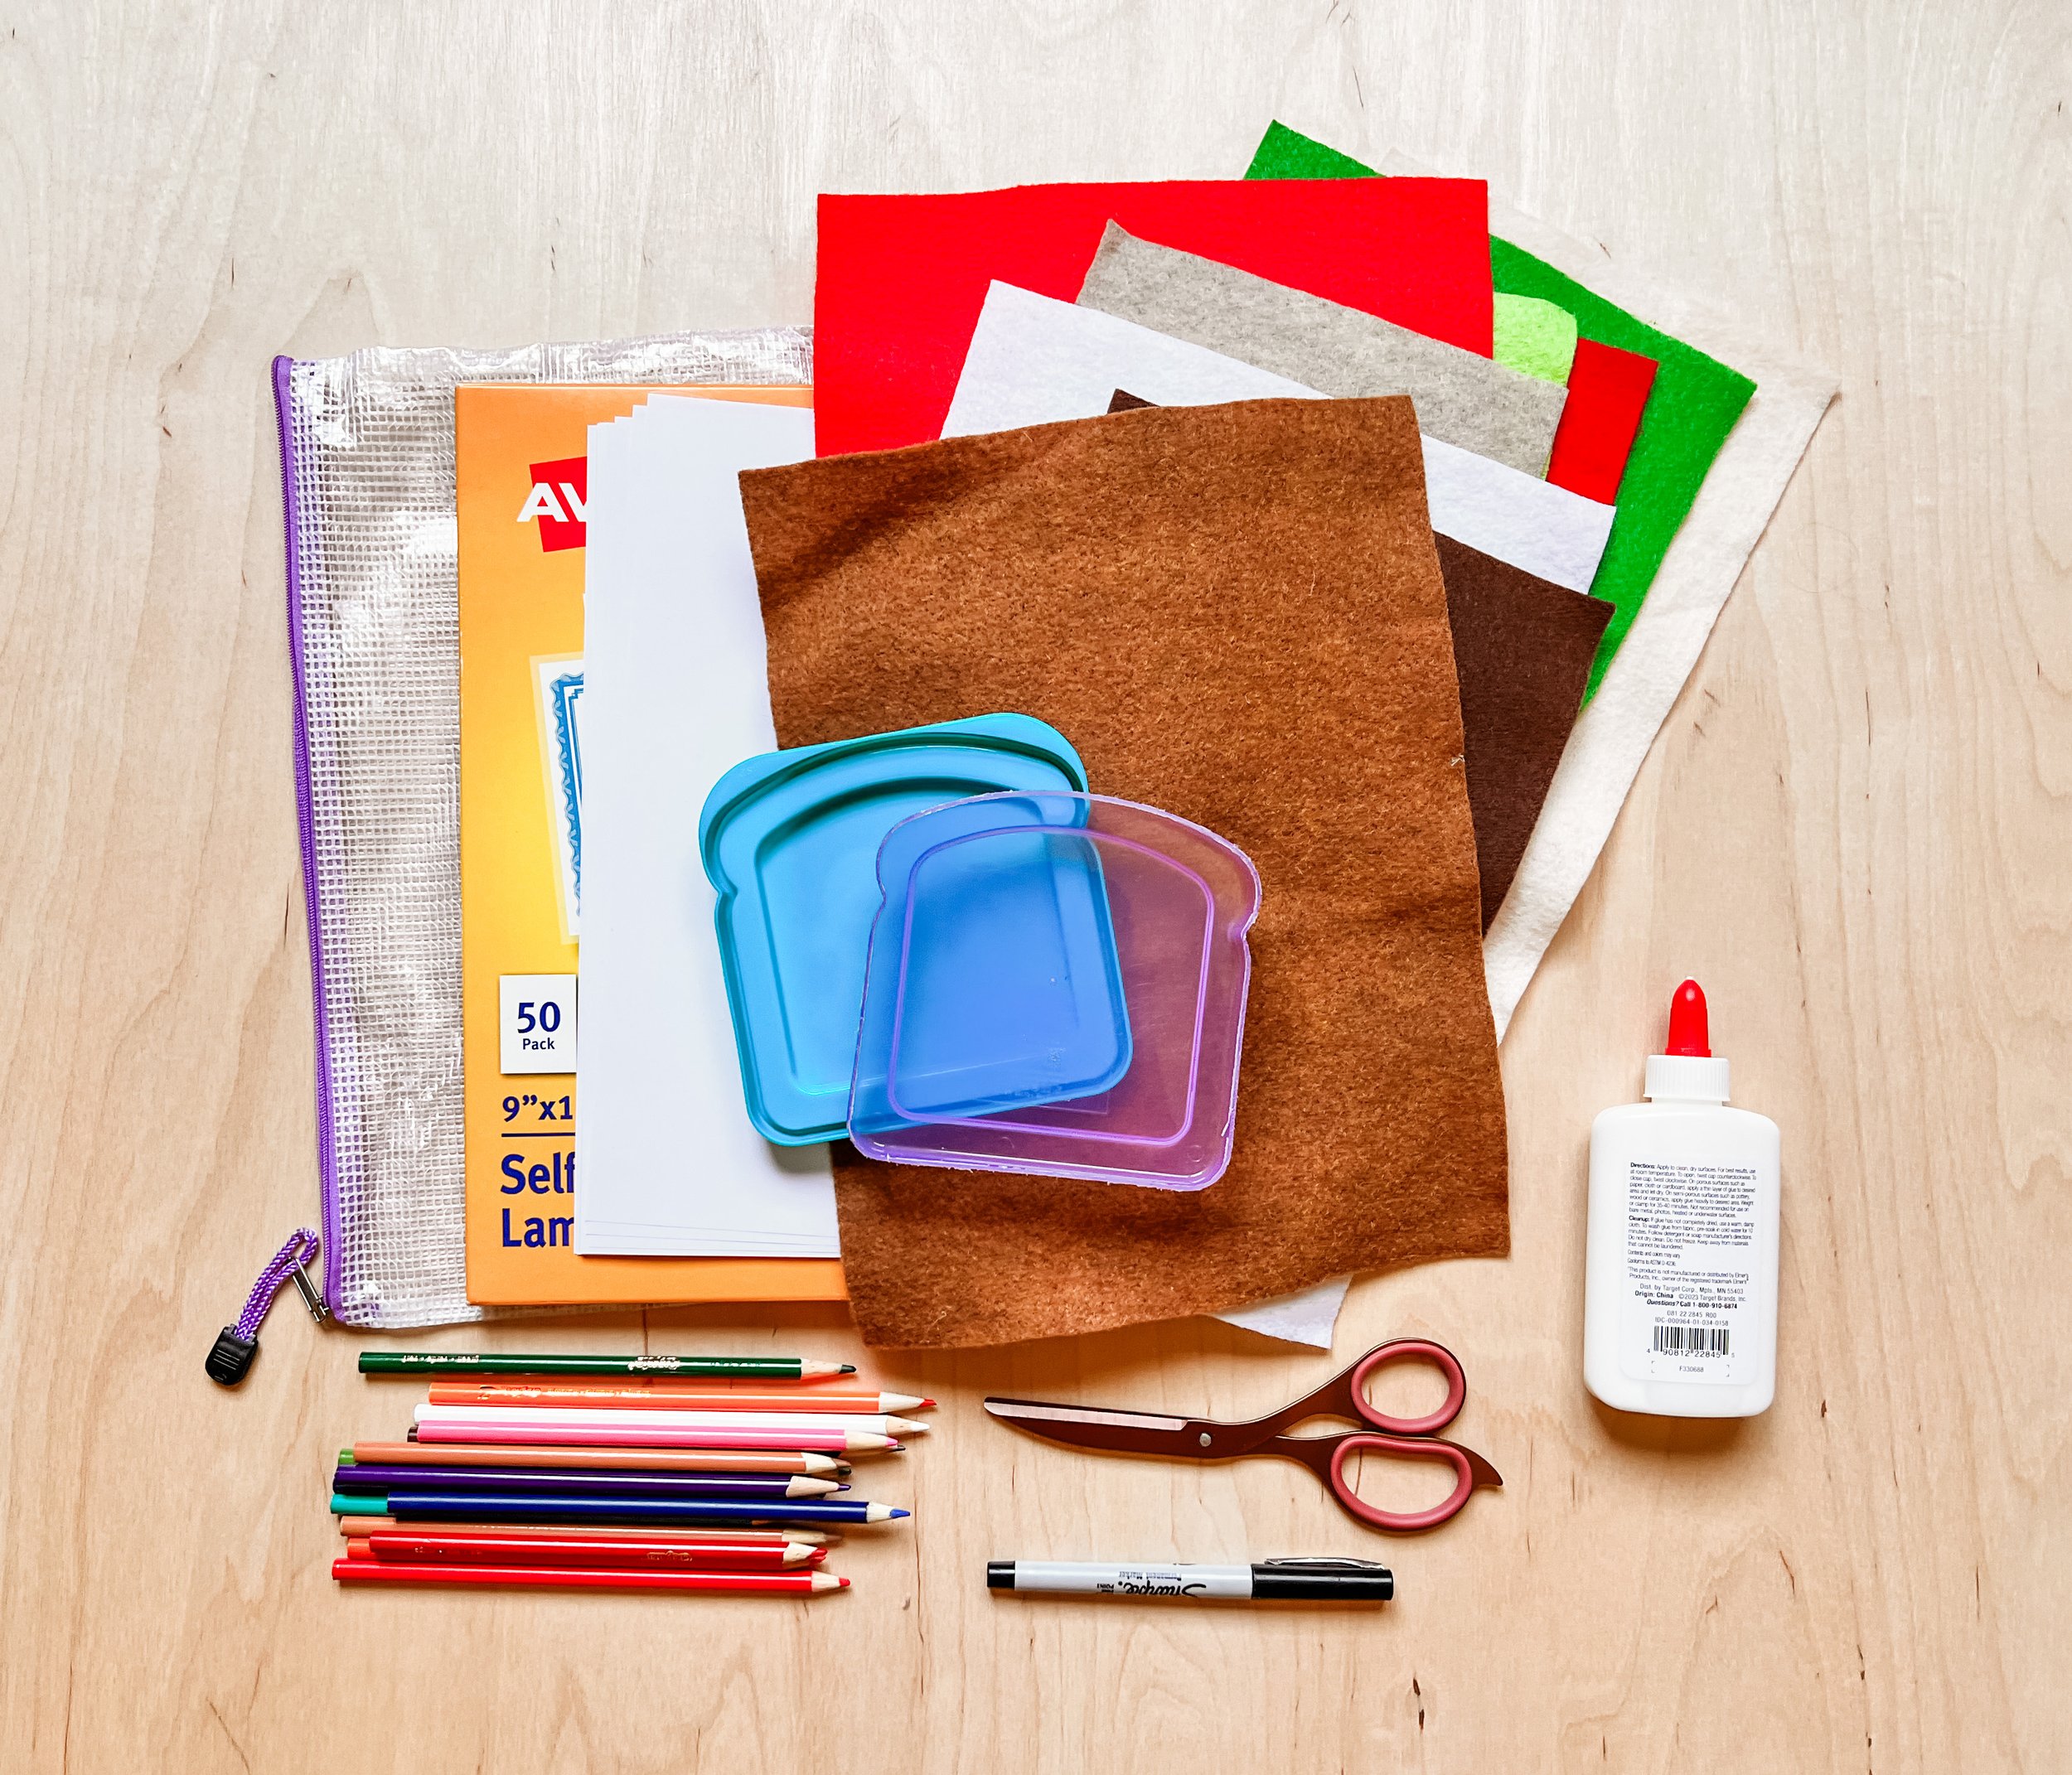
1. Sandwich Shop
Supplies needed:
Glue
Scissors
Marker
Tutorial:
Fold your paper into 4 quadrants. Use a pencil to lightly draw your Sandwich recipe cards. Then, take your colored pencils/marker and color in to match felt colors. Laminate, then cut into 4 pieces. Now it’s time to get creative. Cut your felt into bread slices, different deli options, cheeses, avocados, pickles, lettuce, tomatoes, etc. Add to a bag and call it good. Your kids will love following the recipes and serving you up sandwiches all day long!
2. Shape Patterns
Supplies needed:
Tutorial:
Fold your white paper into 4 strips. Trace the shapes into a pattern, leaving the last space blank with an underline. Use markers that match the shape colors and color. Laminate the sheets and cut into strips. Add strips and shapes to a zipper bag and there you have it! Have your kids say the color and the shape as they add it to the end.
3. Spoon Shape Match
Supplies needed:
Permanent Marker
Tutorial:
This one is so simple, you could do it with one eye closed! Grab some plastic white spoons and draw a solid shape on it. Next, grab some clear spoons and draw the same shapes, but just the outlines and their names. Have your kids say the shape as they are matching it. You’re done…I told you it was simple :)
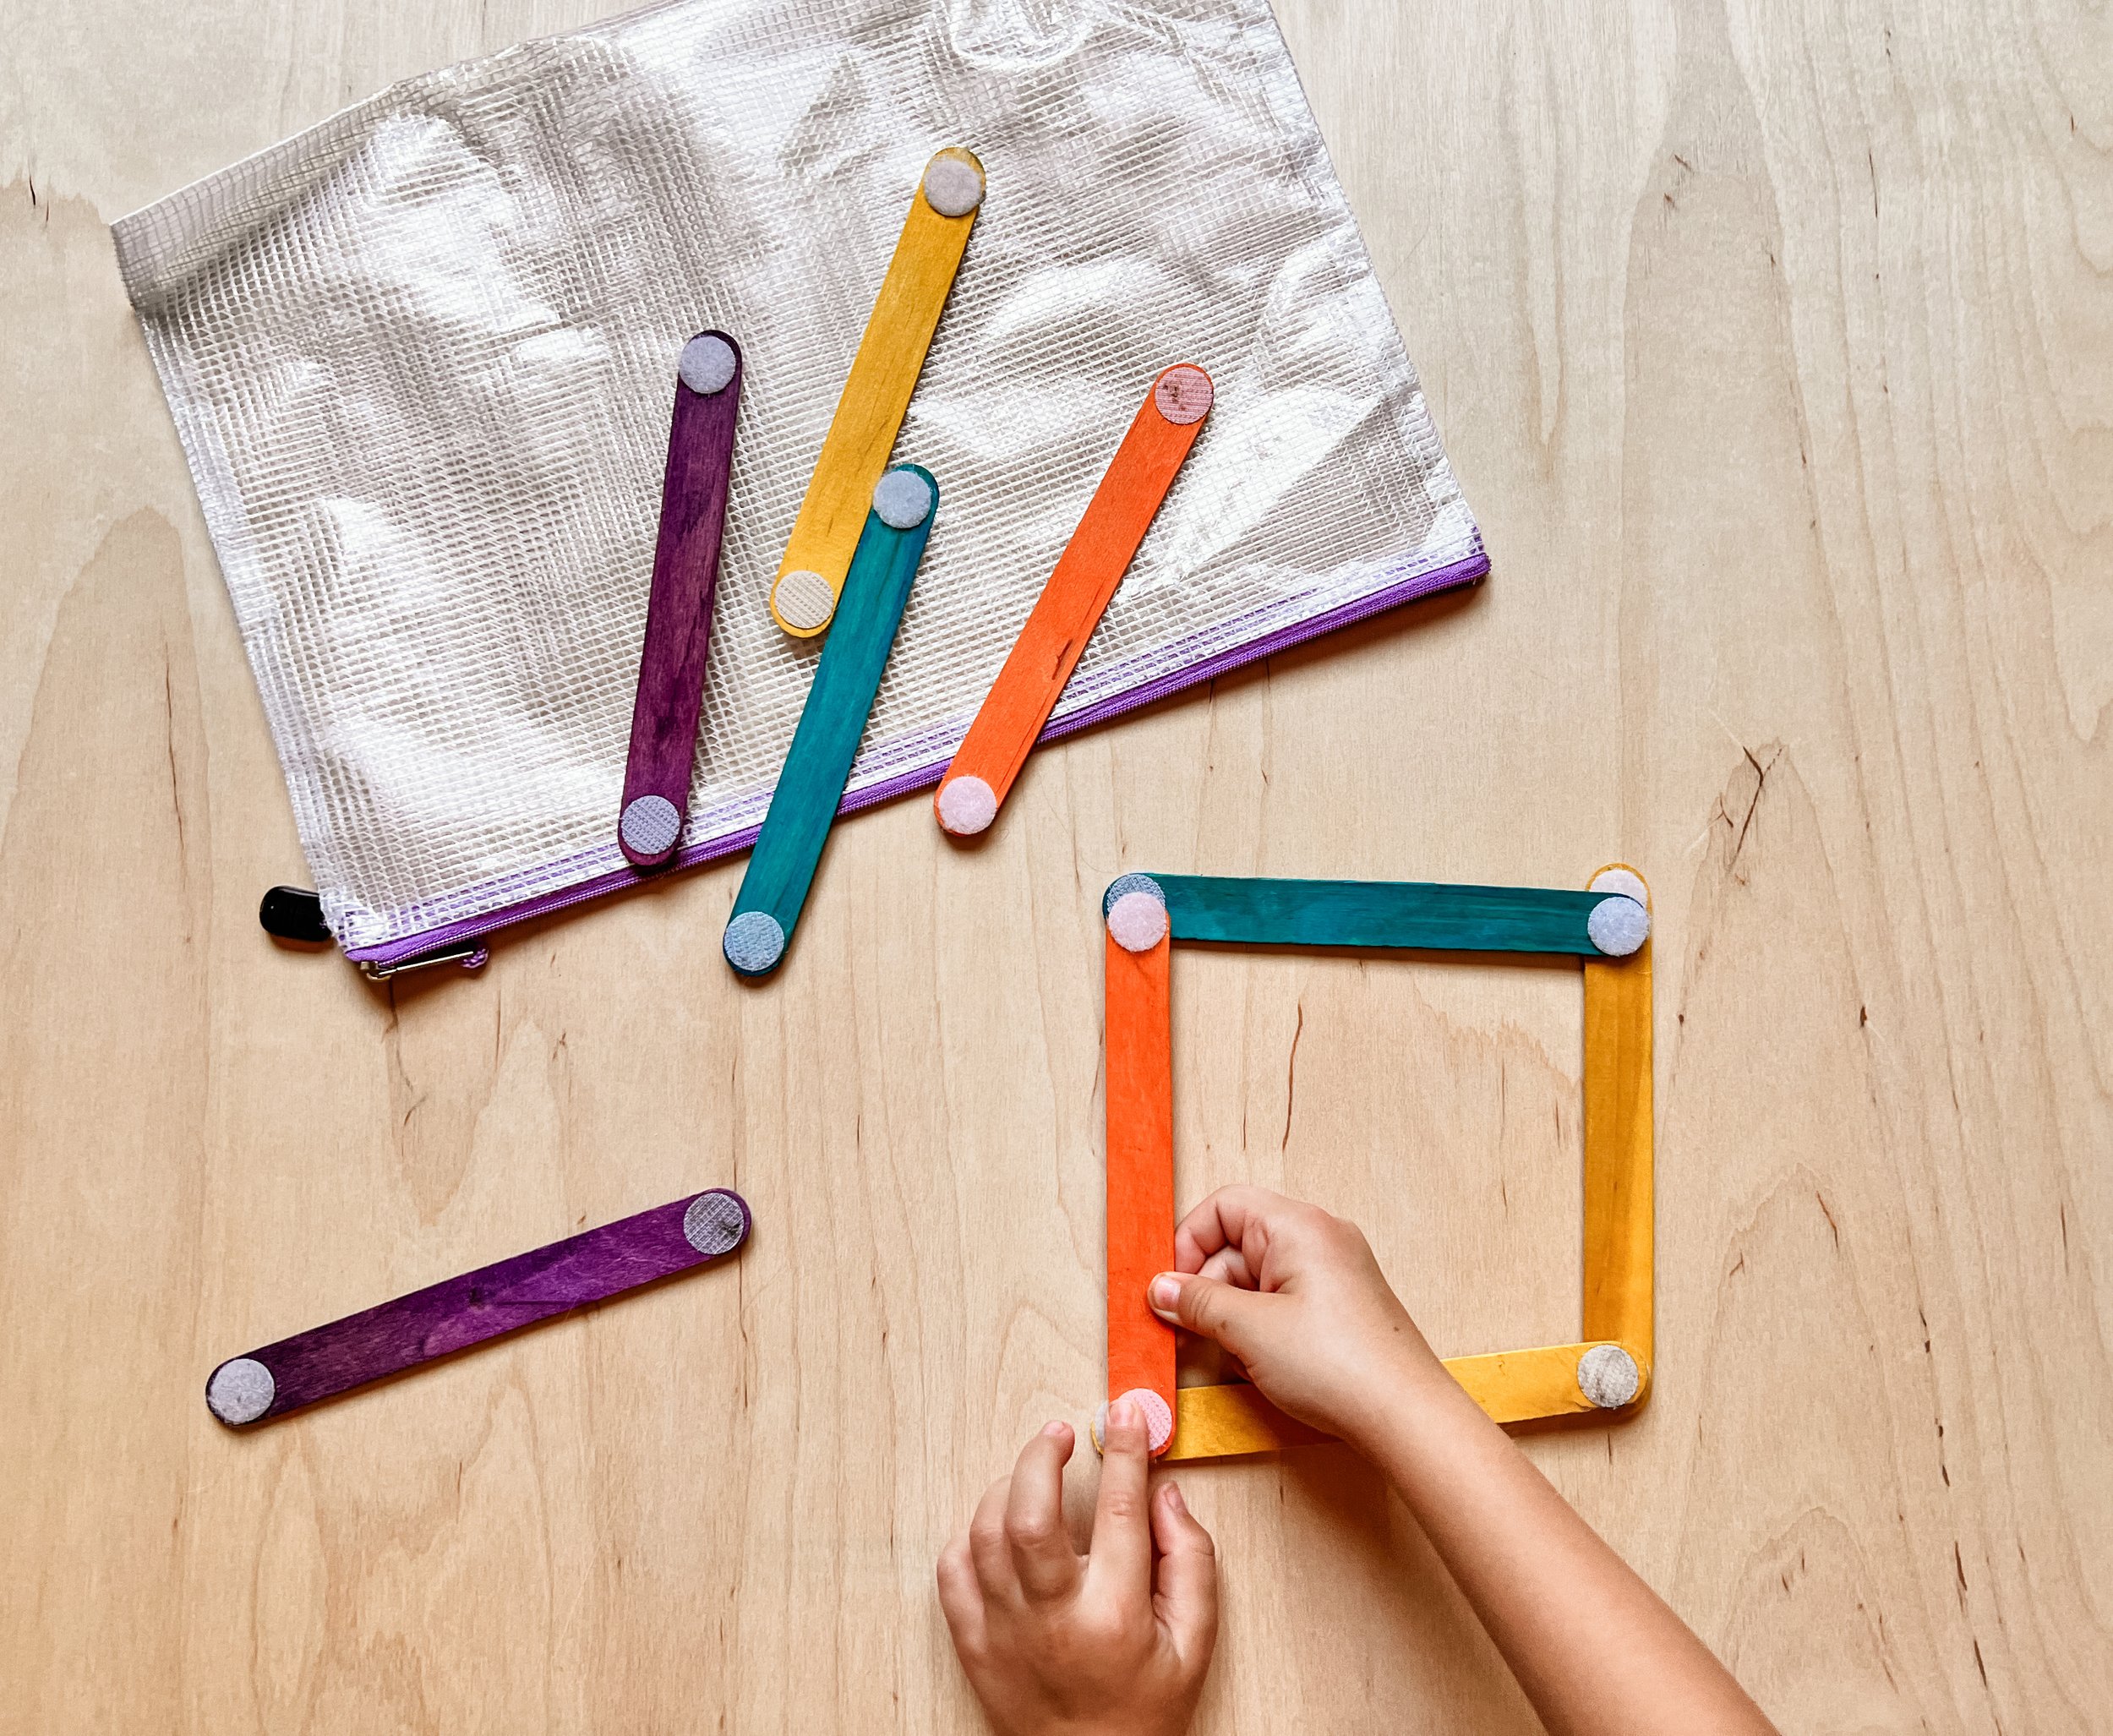
4. Velcro Play
Supplies needed:
Tutorial:
This is another easy one. Take some colored Popsicle sticks and add Velcro dots to each end. Make sure the soft Velcro is at one end and the prickly Velcro is at the other end. When you flip it over to the backside, make sure you put the prickly dot at the end that has the soft dot on the front side. This will give you more options when attaching them together. Kids can create letters, numbers, shapes, etc…Enjoy!
5. Paperclip Count
Supplies needed:
Scissors
Black Marker
Tutorial:
Start by cutting cardstock into small rectangles. Use your marker to write numbers 1-10 on the paper. Laminate and trim with scissors. Finished! Have your kids clip on paperclips corresponding to both the number and color on the paper. Have fun with this!
Gather the kids around and enjoy testing them out together. I’ll mention this again, as an important rule for the kids…you don’t get to open a new busy bag until you’ve put away the first one. This will keep them from getting overstimulated and it will keep your house cleaner :) Hope your kids love these!
Did you try Busy Bags - part 1? What is your child’s favorite one? What bag will you make next? What are some other projects you would like to make with me?
Come again, stay longer!


Welcome to Part 3 of my busy bags. I have gathered 5 additional busy bags that my kids have enjoyed for years. They are simple to make with simple materials. I’ve included a supply list (with links in case you don’t have the supplies needed) for each bag and basic instructions on how you can make your own. Take a look!