Make it with Melissa: Busy Bags (Part 3)
This post may contain affiliate links, which means I may receive a commission, at no extra cost to you, if you make a purchase through a link. Please see my full disclosure for further information.
Welcome to Part 3 of my busy bags. I have gathered 5 additional busy bags that my kids have enjoyed for years. They are simple to make with simple materials. I’ve included a supply list (with links in case you don’t have the supplies needed) for each bag and basic instructions on how you can make your own. Take a look:
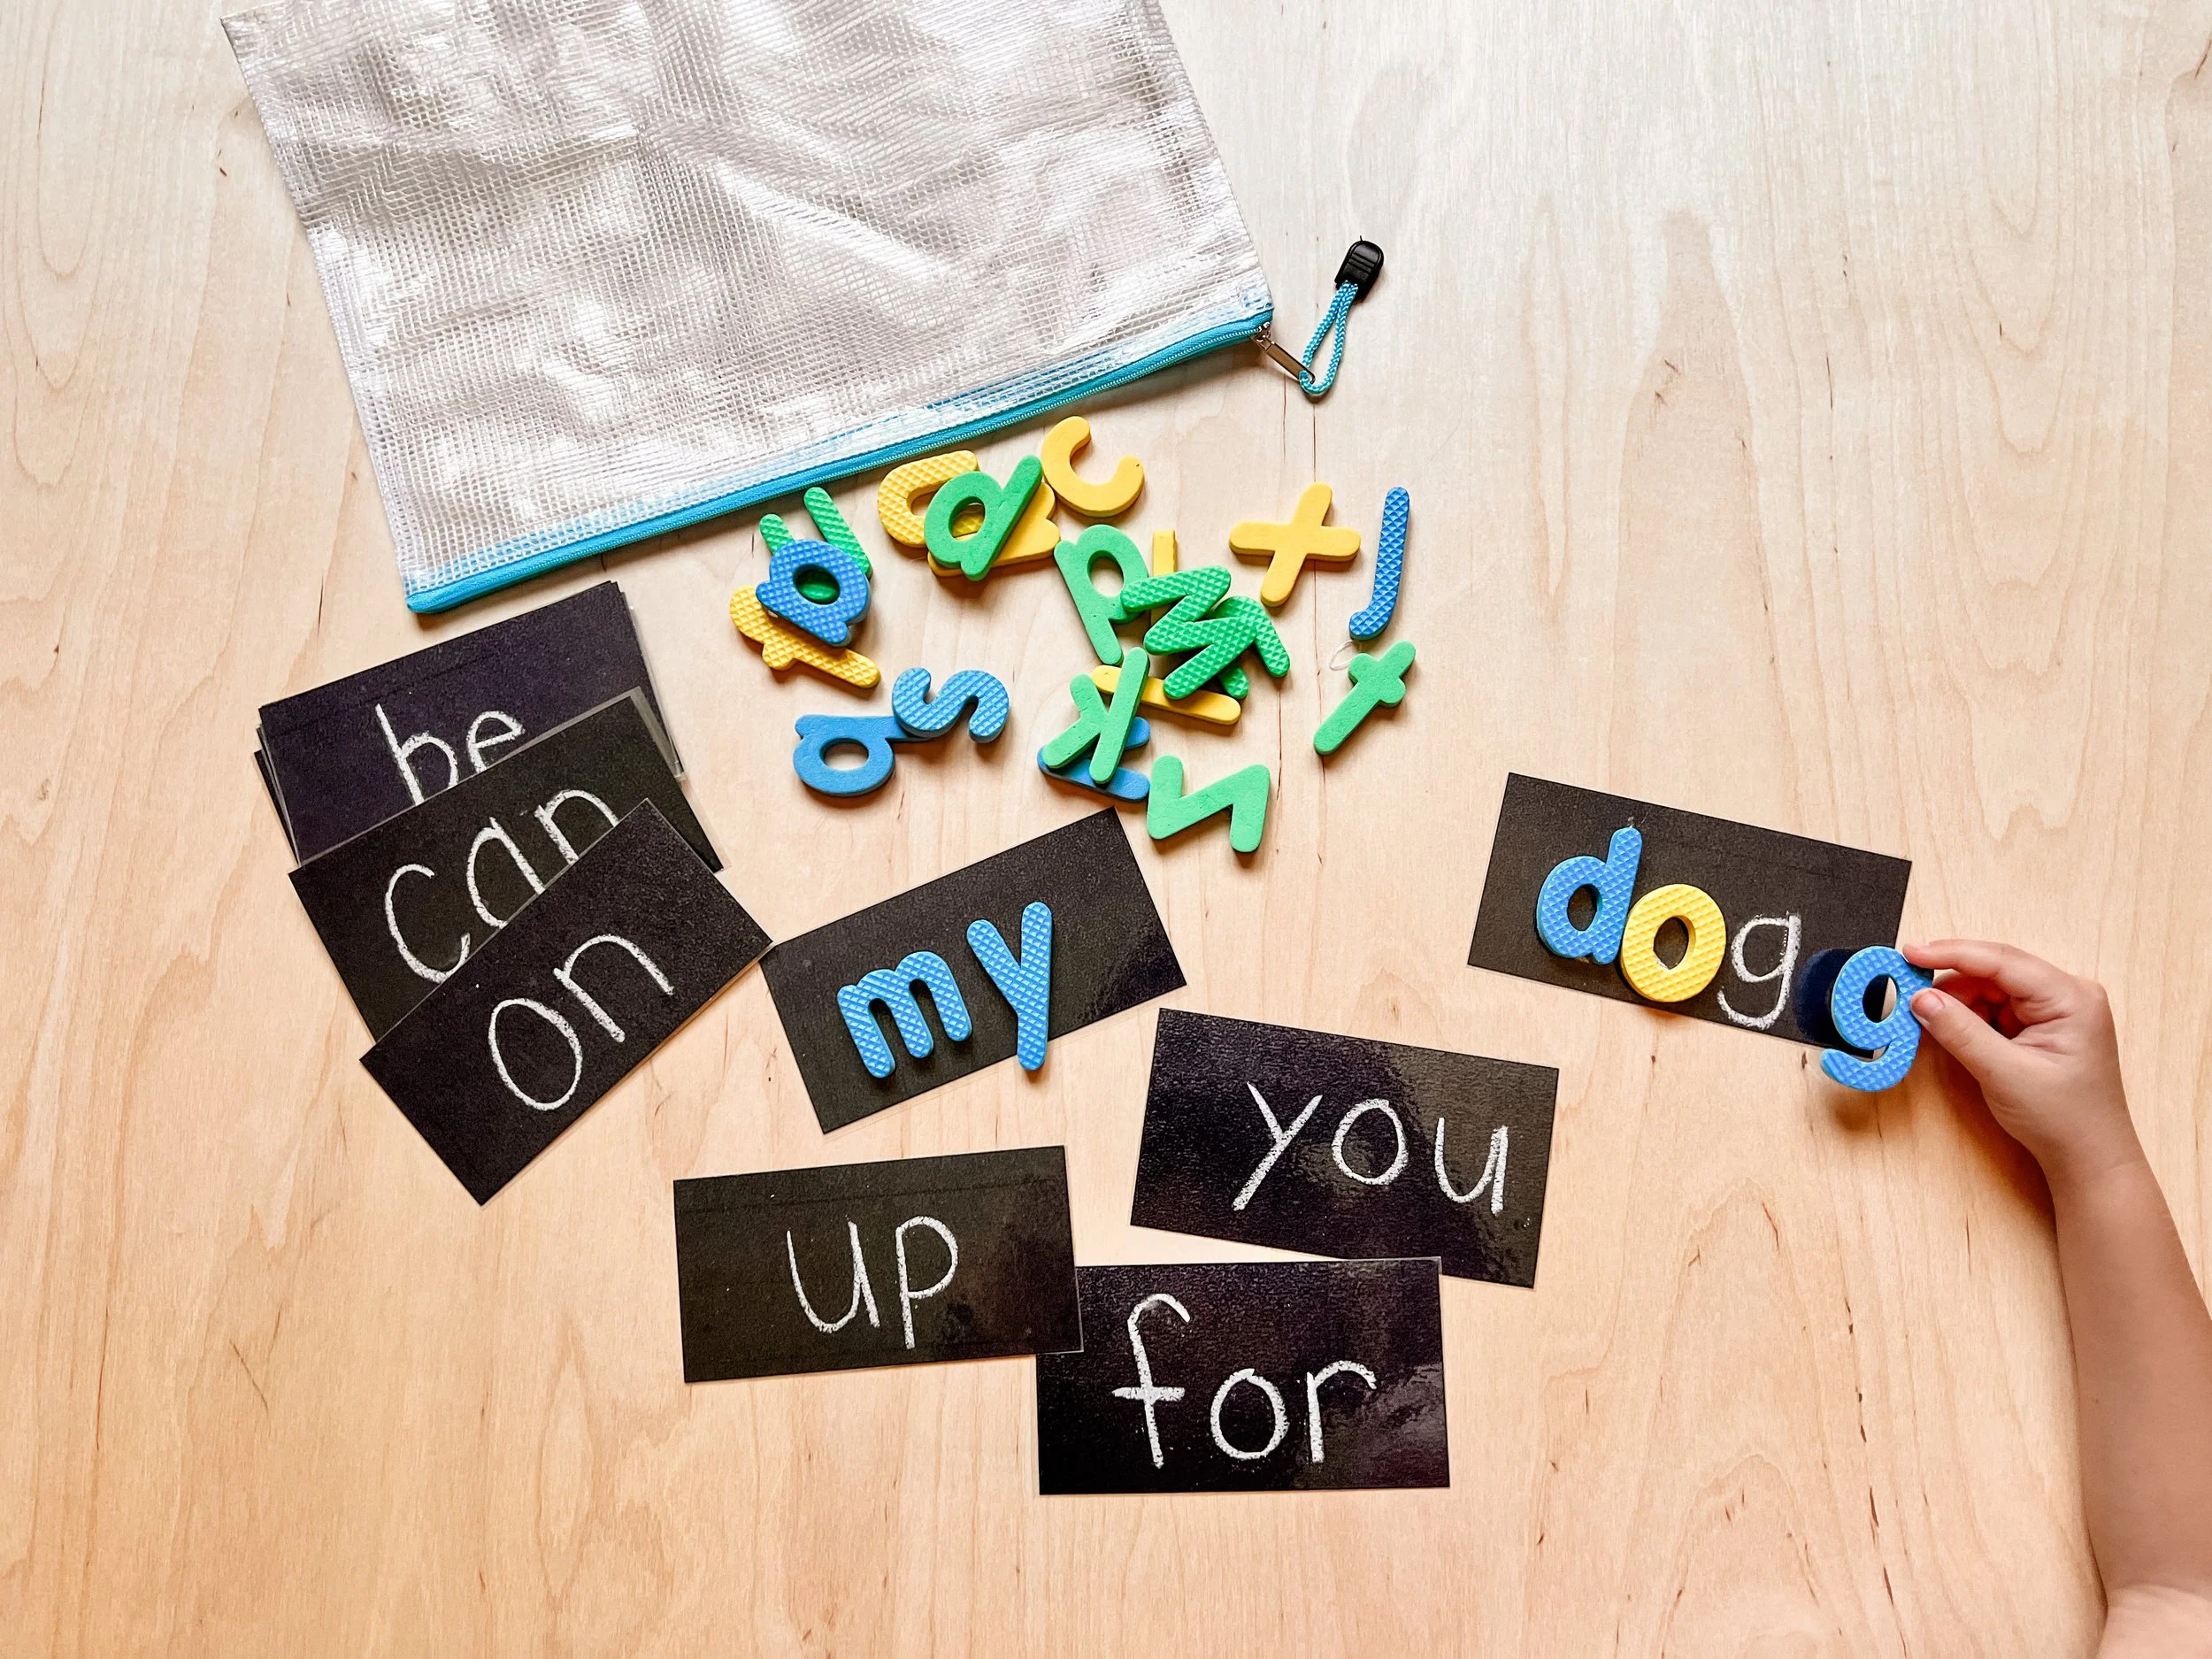
1. Foam Letter Sight Words
Supplies needed:
Black Paper
White paint marker (or chalk)
Black Marker
Tutorial:
Write sight words on your black paper, using the white paint marker. Laminate the paper and cut apart. Add to a zipper bag and you’re done! Have your kids say each letter as they place it on the word, then say the word at the end.
2. Marble Maze
Supplies needed:
Marbles
Needle and Thread
Scissors
Tutorial:
Fold your felt in half. Draw a maze on the back with chalk (it will clean off easily). Make sure your maze is wide enough for the marble to easily push through. Sew along your chalk lines. Then, use Puff Paint and write “Start” with an arrow. My kids like to race each other. Have fun with it!
3. Pom Pom Sort
Supplies needed:
Scissors
Black Marker
Tutorial:
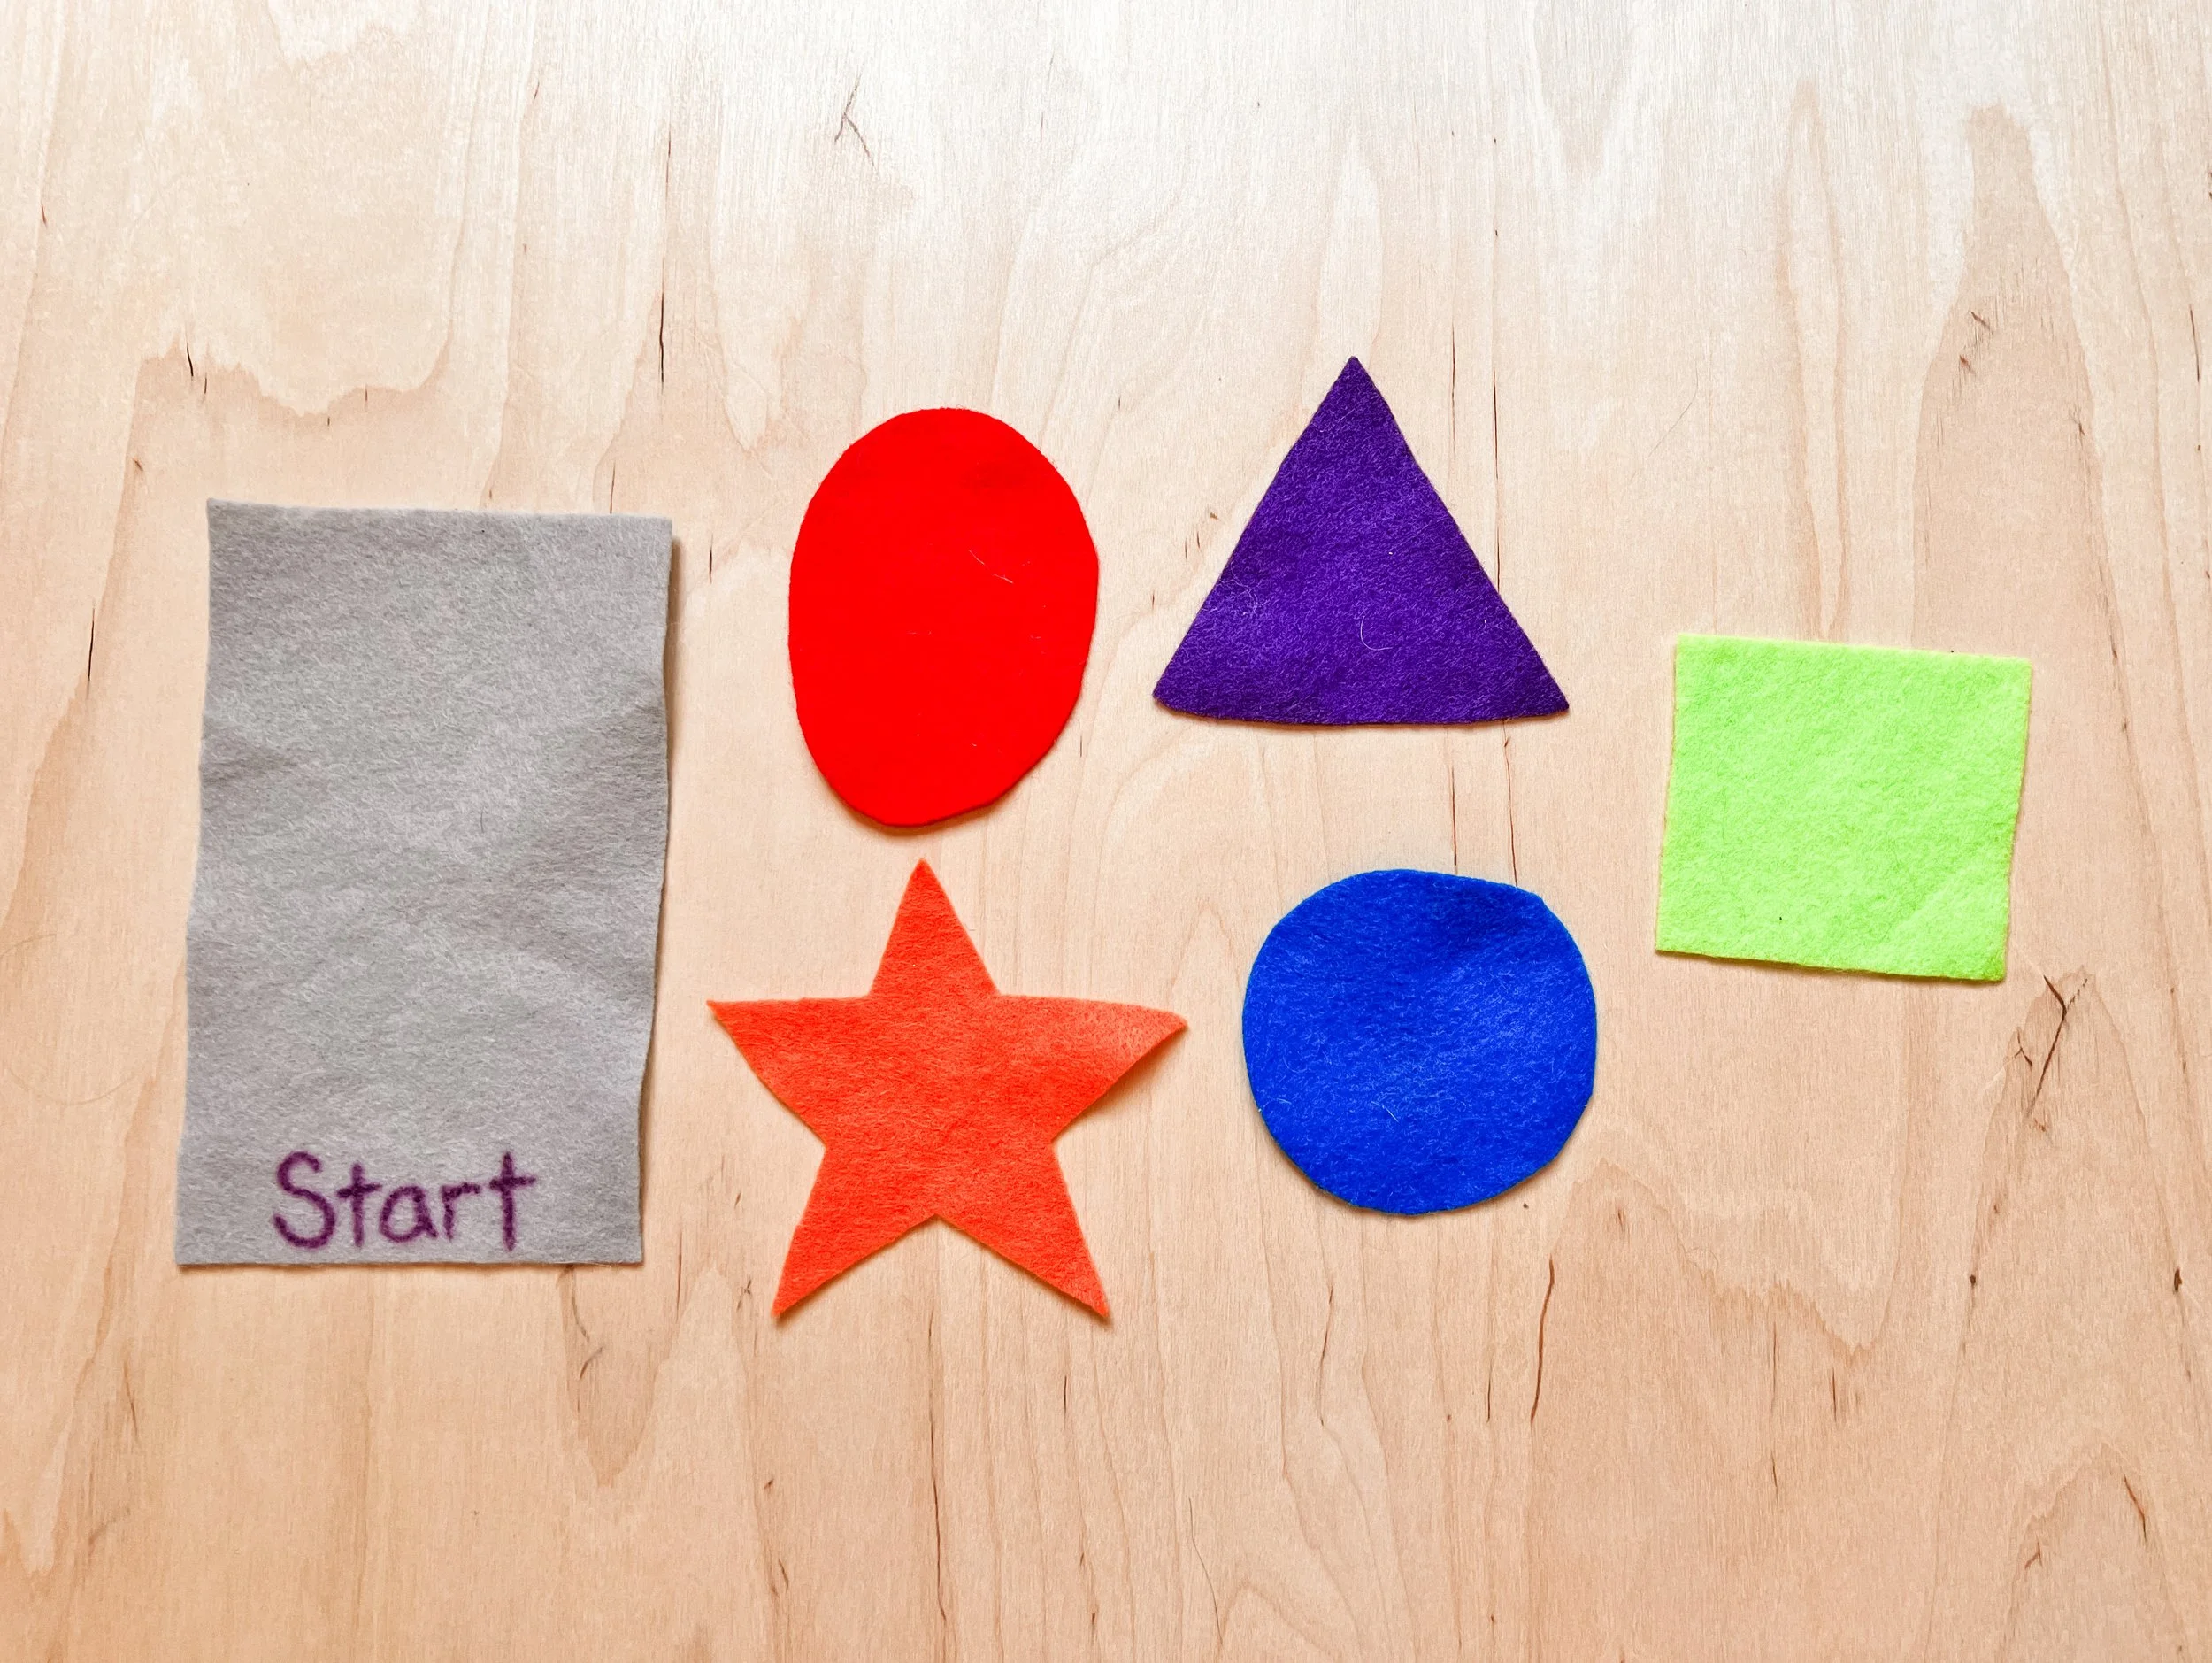
Start by cutting large shapes out of your felt. One shape for each color. Cut one large Rectangle and write the word “Start” on it. Make sure this rectangle is large enough to fit all of your pom poms on. Have your kids use the bag clips to pick up a pom pom (from the “start” rectangle) with the corresponding color and place on the felt shape of the same color. The pom pom, bag clip and felt should match as much as possible. That’s it for this one, enjoy!
4. Dice Shapes
Supplies needed:
Scissors
Black Marker
Tutorial:
This busy bag is for older children-as the dice could be a choking hazard. Simply fold your paper into quadrants. Put the dice in a pattern/shape and trace with black marker. Laminate the paper and cut into 4 pieces. Add to a bag…all done!
5. Line Practice
Supplies needed:
Black Marker
Scissors
Tutorial:
Draw dashed lines on your white paper with dots and arrows, showing them where to start and which direction to draw in. Laminate your paper, then cut into strips. Hole punch the corner and bind with a binder clip if desired. Add these strips along with a dry erase marker to a zipper bag and it’s complete!
Try out the new busy bags with the kids. Remember the rule: finish one before opening another. Enjoy some peaceful moments and let me know what busy bag is your favorite!
Did you try making busy bags from part 1 or part 2? Which was your favorite? What are some other projects you would like to make with me?
Come again, stay longer!


Welcome to Part 3 of my busy bags. I have gathered 5 additional busy bags that my kids have enjoyed for years. They are simple to make with simple materials. I’ve included a supply list (with links in case you don’t have the supplies needed) for each bag and basic instructions on how you can make your own. Take a look!